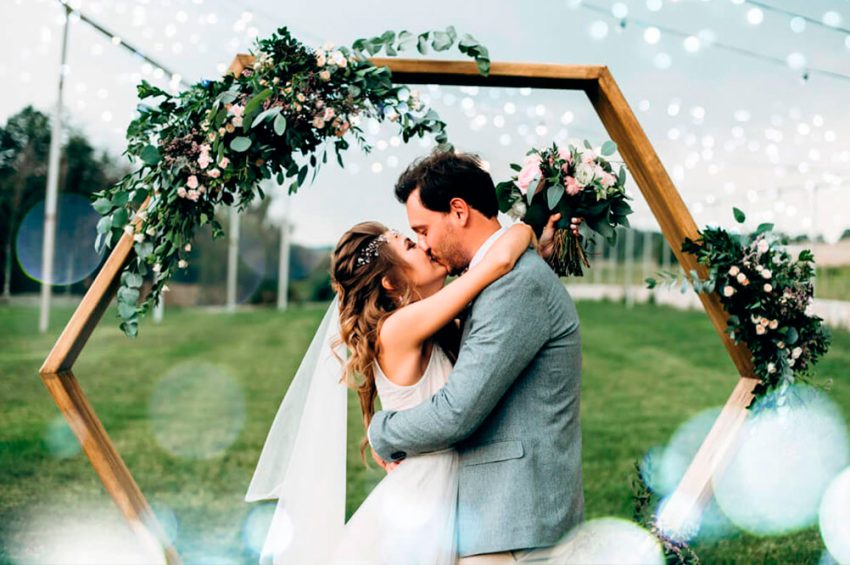
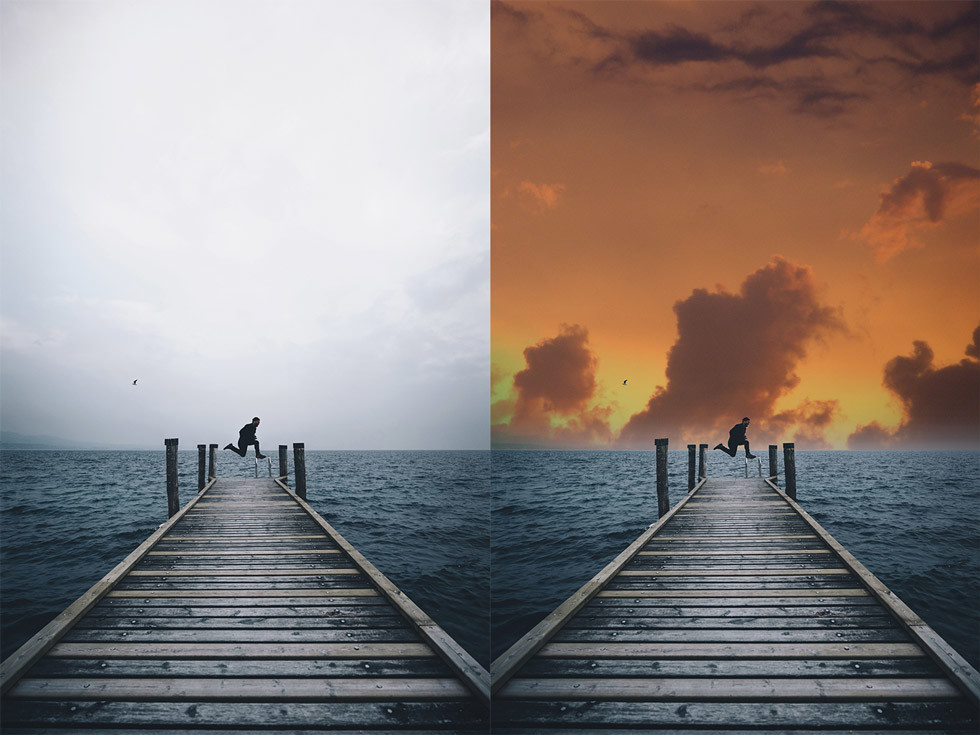
Do you use Adobe Photoshop in your photo editing process and are you searching for the best ways to spice up your photos? If so, you’re on the right track! Photoshop Overlays are an excellent way to give your images a unique and memorable look.
Overlays are transparent PNG images with carefully selected areas of partial transparency. They can be used on top of another image to add neat effects and details. But what makes overlays so special is that they only reveal certain parts of the image while hiding others.
This way, they give your final photo a neat glow without making it look overwhelming or fake. In this blog post, we will explore why you should start using Photoshop overlays and discover some useful tips on how to find, create, and use them in your images.
What is an overlay in Photoshop?
An overlay is a layer on top of another layer in Photoshop. An overlay contains a transparent or semi-transparent image or pattern, which can be applied to other layers below it. They can be used to add text, graphics, and other visual elements to your image. Overlays are useful for adding effects, like adding noise to make a photo look aged, adding a texture overlay to make a grassy field look like a golf green, or adding a colour overlay to tint a scene.

Why use Photoshop overlays?
Overlays give your images a unique and memorable look and they can be used in many different ways. Overlays are an excellent way to add visual interest and spice up your photos. If used naturally, they can turn an ordinary photograph into a winning photo contest.
Imagine the situation where you went to photograph a couple in an outdoor environment, which includes beautiful trees, but the day was cloudy. The photos turned out great, but how about adding rays of sunlight coming through the trees, giving a feeling of more warmth and love to the lovebirds? This is just one of the many scenarios where Overlays can work miracles.
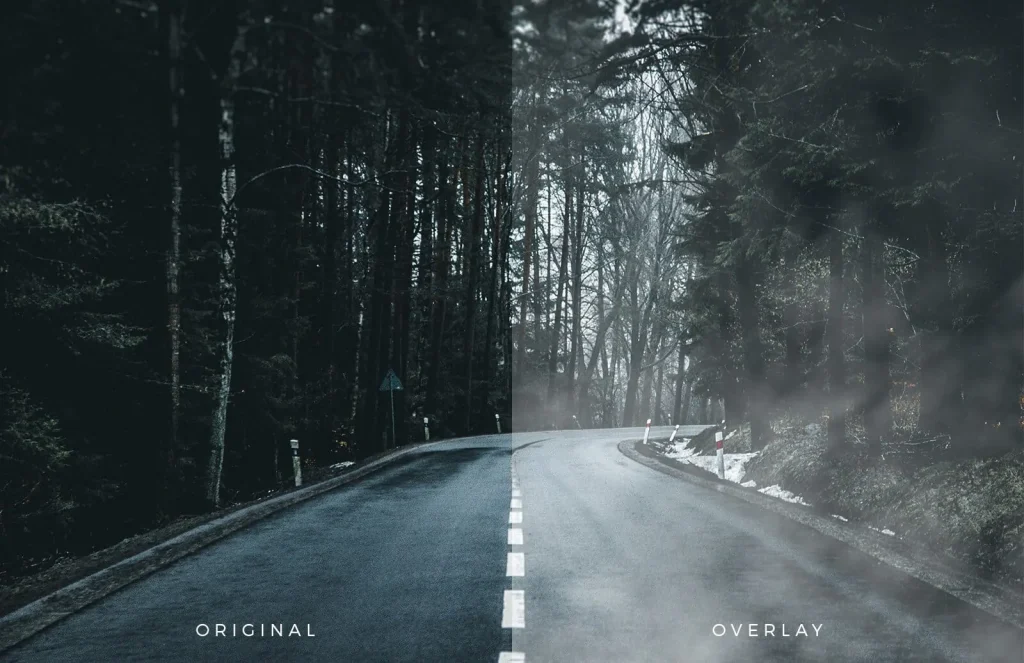
Using Photoshop overlays you can add rain to a scene in a photo, or add stars to a night sky. You can also use overlays to add text to your images. You can add a title to a photo, or add the name of a person in a group shot. Text overlays can be very useful in photos that include a large group of people, like wedding or graduation photos.
How to Find the Best Photoshop Overlays
If you’re just getting started with the use of overlays, it can be easy to fall into the trap of using the same few images over and over again. This is especially true when you’re first learning how to use overlays to add effects to your photos.
You can find many free overlays on the internet. A quick Google search (“free photoshop overlays) shows many features of this type but the big problem in this case is the quality of the images.
The vast majority of overlays found for free have poor resolution and are not suitable for professional photo editing. The end result is terrible, it’s stamped on the image that the photographer doesn’t know how to properly edit their images and that’s why you’ve probably seen people complaining that overlays don’t work.
What doesn’t work in this case is that the person downloads any image from these free sites and thinks it’s a professional overlay.
Who really cares about the final result, invests in buying professional Photoshop overlays. I particularly recommend the Presets y Overlays site (www.presetsyoverlays.com), which offers a super complete package, with hundreds of themes (lights, smoke, stars, snow, bokeh effect, etc.) with very high quality overlays, produced by highly experienced professional photographers. I can speak with confidence about their Photoshop overlays, as I have been a customer for a long time and I use the resources of this collection in my edits.
Another excellent pack of Photoshop overlays is sold on this site: https://www.presetspremium.com/overlay-photoshop-action
How to Create Your Own Photoshop Overlay?
If you want to create your own overlay, you can start by thinking about what kind of effect you want your overlay to have in your image. Do you want it to add texture, create a colour shift, create an illusion, or some other effect?
Once you’ve decided on the type of overlay you’d like to create, you can use a few different methods to create your overlay.
– You can use a photograph as an overlay – If you want to create an overlay using a photo, you’ll need to first create a new layer. To do this, click the “new layer” icon in the Layer panel. Once you’ve created a new layer, you can use the “copy” command to place the photograph on the new layer. You can also choose a different method for copying the photograph to the new layer. For example, you can “cut” the image to the new layer, or “stamp” it. Once you’ve placed the photograph on the new layer, you can use a variety of tools to edit the photograph.
– You can also create a colour overlay by adjusting the colours of the image in “ Hue/Saturation ” – You can also use other tools and commands to edit the image on the overlay. For example, you can “filter” the image to create a certain effect, or “ adjust ” the image’s brightness and contrast.
Tips when using overlays
- Use different overlays on different images – If you find that you’re using the same overlay over and over again, it’s time to create or download a new one. Using the same overlay on every image can make your photos look repetitive.
- Keep a library of your favourite overlays – This will help you save time in the post-production process, as you won’t have to browse through hundreds of them on your computer. As with Lightroom presets, the idea is to streamline the flow, not make it even more time-consuming.
- Make sure the overlay is the correct size – You don’t want it to be too small or too large for the image. That’s why it’s important to have high resolution overlays, because when you apply a low resolution overlay to your high resolution photo and resize it, you may have quality issues (pixeled image) or something that doesn’t look natural as it should.
- Keep the balance – While it’s tempting to use overlays on every image, don’t overuse them. It’s easy to fall into the trap of using overlays on every image, and using them too much can make your photos look overedited.
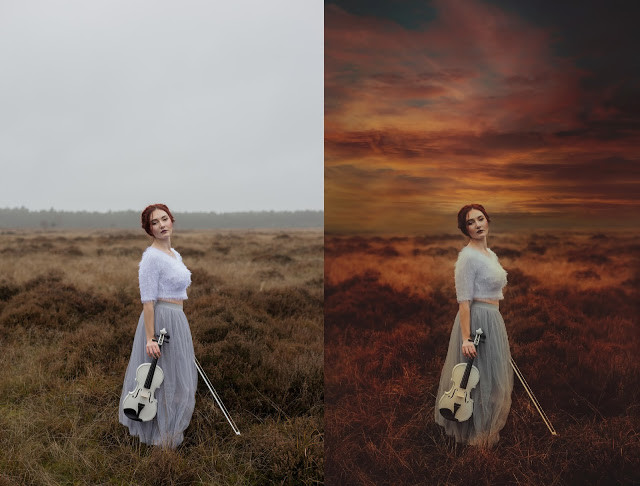
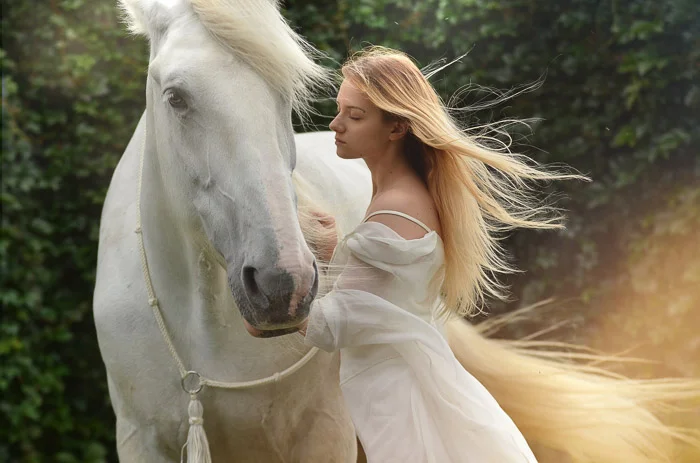
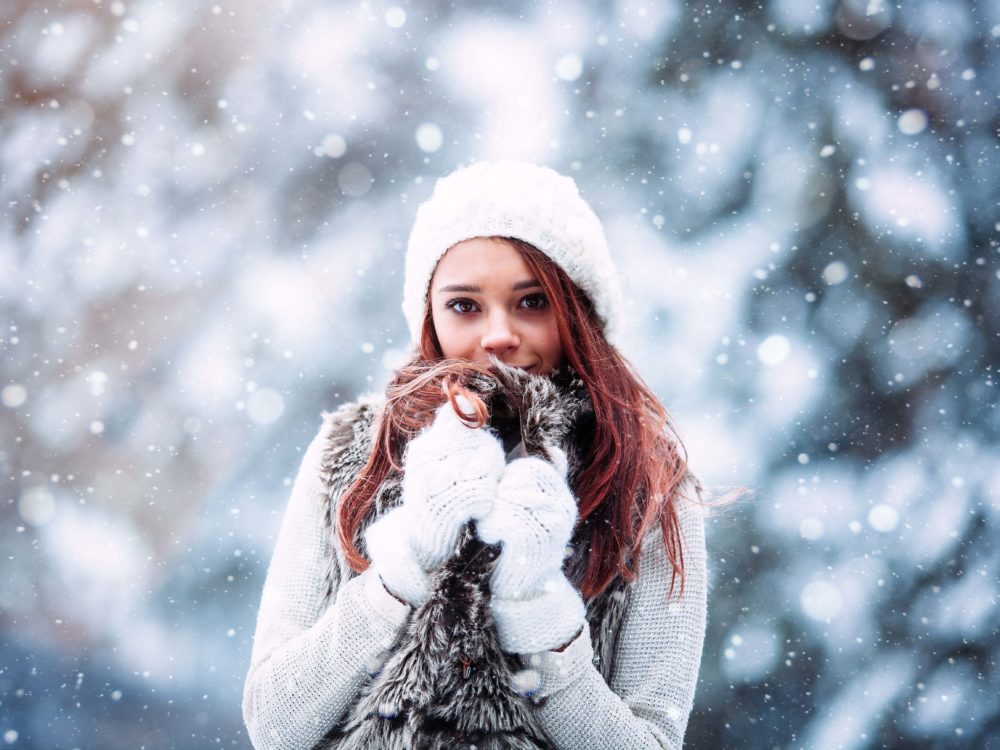
Examples of Before and After Photos Edited Using Overlays in Photoshop

Final Words
Overlays are a quick and easy way to add visual interest to your photos. They can be used to create a vintage or faded effect, or to add rain, snow, lights, etc to an image, quite realistically, if properly applied.
They can also be used to create cool illusions in your images, like stars in the sky, or adding words to photos without having to manually type them out. They can be used for many different purposes, and are a quick and easy way to add unique elements to your images. How about trying to use them in editing your next photo shoot?


